| Journal | Pictures | Tracks | Links | About |
| Accommodations | Formalities | Maintenance | Miscellaneous | FAQ |
| |
|
|||||||||
|
|
|
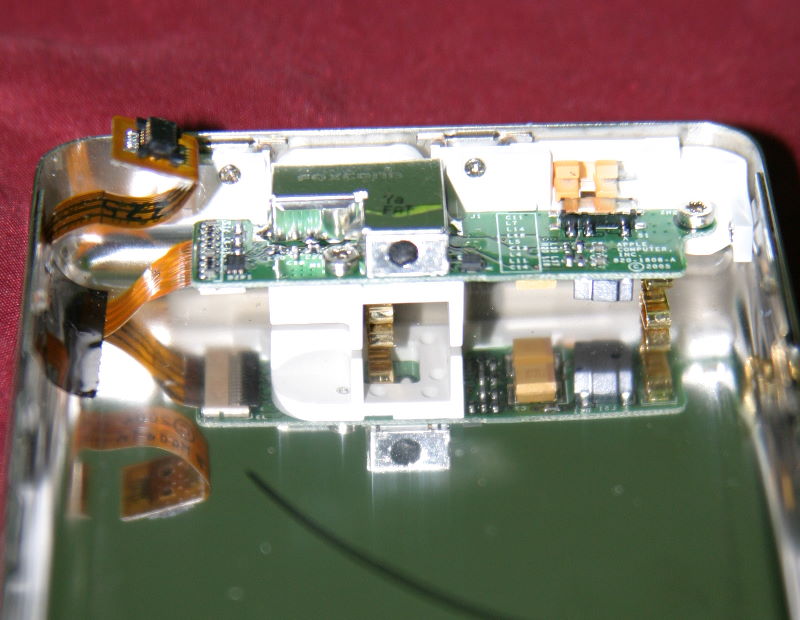
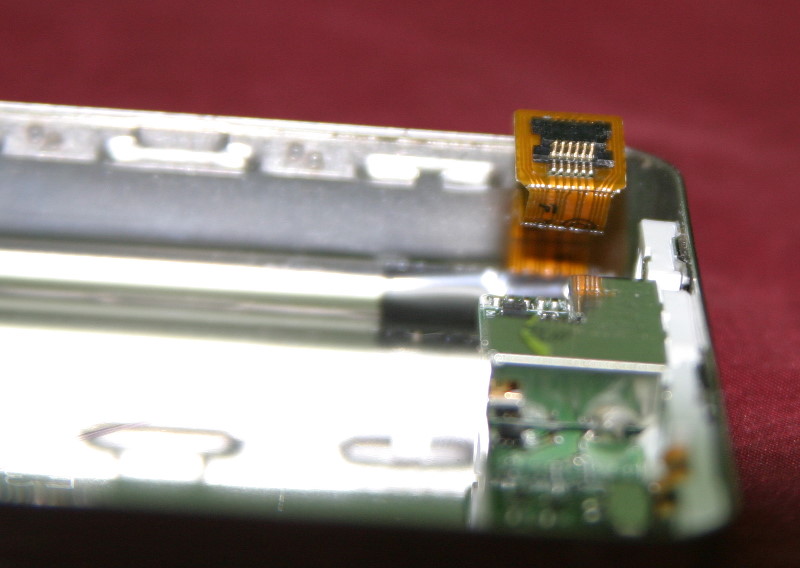
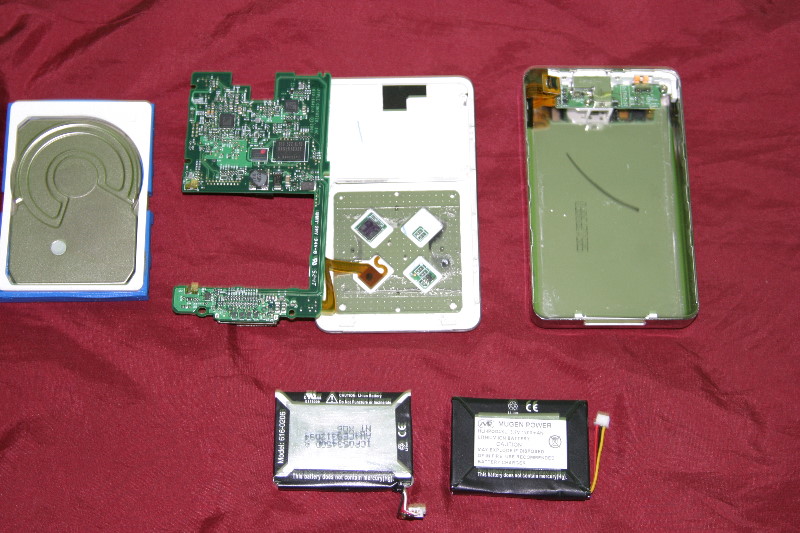
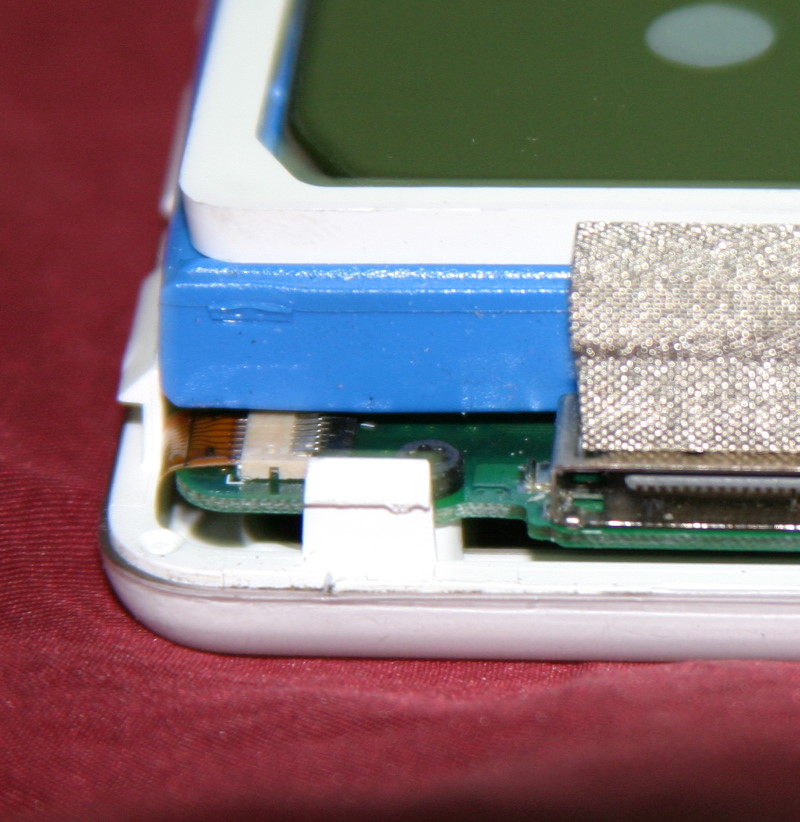
Toward the end of the year it was clear that my IPOD no longer had enough power to do the job. I had tried using it as an external hard disk at the local internet cafe, and found that it only ran approximately 50 minutes. This made it next to useless as an external hard disk for my long internet cafe visits. So after doing some research on the web, I found an outfit in America which would happily send me a new battery and assorted tools in order to get a new battery installed. I ordered the material and in 5 days it was in my hands The first problem was getting it open. It is no joke that you will certainly break a nail or two if you were to try it with your bare hands. In no time at all I broke one of the tools they had included. Luckily for me they sent three (almost identical). The tools to open the case are plastic "spoons" that you insert between the case along the side. The whole top part (while) has hooks along the side which go into the bottom case, so the tools need to be jammed in to pop the "hooks" loose. Do it carefully inserting the tools at two points along the case not too far from each other, and pushing them slightly inwards. As you push down on it the case will pop open. The trick is finding the best place to insert the tools. Try the corner and along the long edge. .The trickiest part other than getting it open is making sure that the you don't break the audio connector
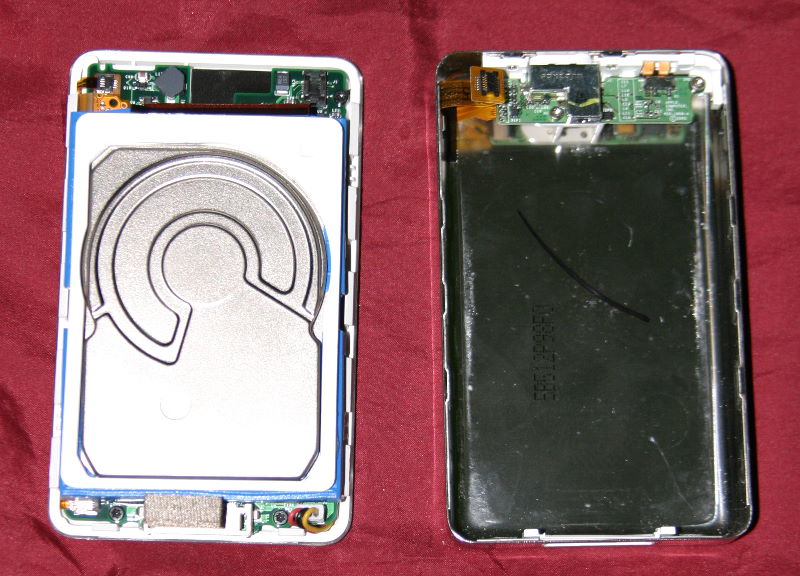
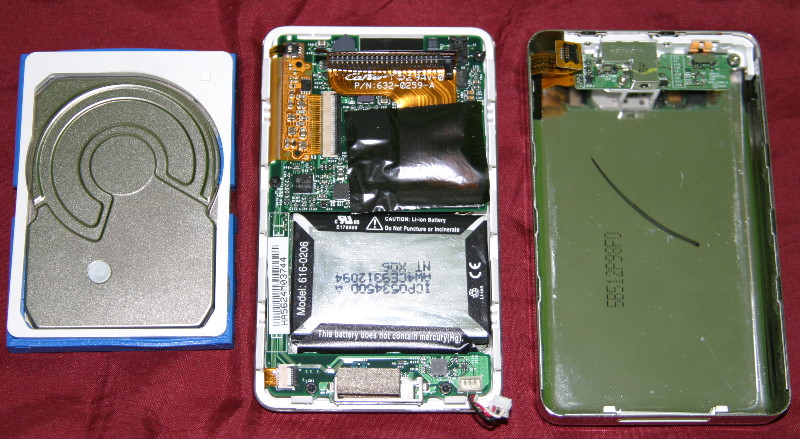
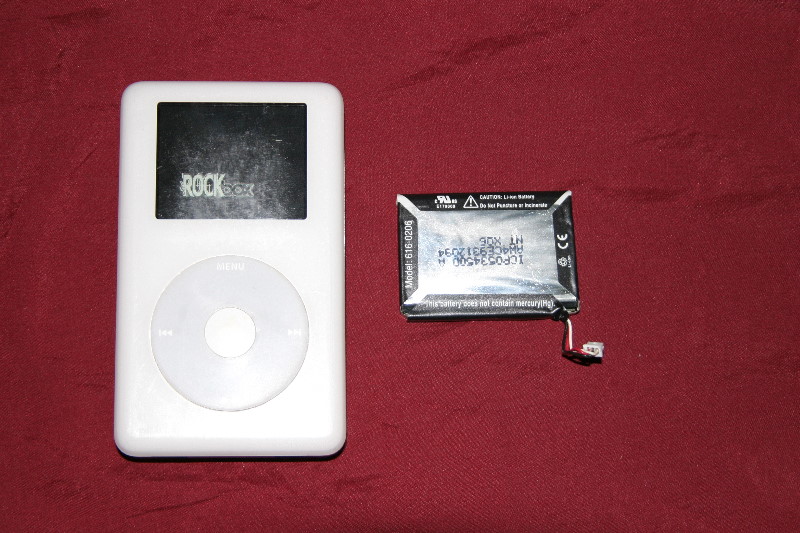
The connector is attached to the bottom cover, so when prying at apart be very careful. Breaking this will ruin your day. After that it is pretty straight forward, just follow the instructions. They included tools for the small screwdrivers in the case, although the instructions miscounted one the screws (there was one less to unscrew than what the manual says.). Once I was sure that there were no more screws, the motherboard lifted easily away, and underneath was the battery. Just pry it loose (it is affixed with some adhesant) and pop in the new one and then put the unit back together. What could be easier. Your IPOD now has a battery with 1200ma of power rather than the original 700ma. As a side note, once this was done, my IPOD ran just over 7 hours (yeah, I know this is not much, but the reason is RockBox, which is yet to be optimized for battery usage), were I to run the Apple firmware I would get around 20hrs. Of course as luck would have it a few weeks later, it got dropped and killed the hard disk. So the battery change was for naught. I did get a replacement unit a couple of weeks after this, which of course has a new battery, the playtime now being the same as with the new battery! Definitely a do-able job, regardless what Apple says, and I love RockBox, no more I Tunes, I can play practically any format on the planet etc. I will write a separate article about RockBox at some future time.
|
|
|
|
| ©2010 Khim Rojas & Fernweh Adventures • Home • Top |
Journal • Pictures • Tracks • Links • About Accommodations • Formalities • Maintenance • Miscellaneous • FAQ |